
Weblessons.us
| <<= Back | <<= Computer Classes | Next =>> |
In this lesson you will learn:Drag and Drop PrintingOne way to print a document is simply to drag and drop it onto a printer object on your desktop. To do that, you need to place the printer shortcut in an area of your desktop where you can drag files onto it for fast printing. Create a shortcut to the printer and place it in an easy to access location then re-size the windows so you can easily see the shortcut and drag the file onto it. Creating a shortcut to another shortcut WILL NOT WORK. To review creating a desktop printer shortcut see the lesson 34 Shortcuts 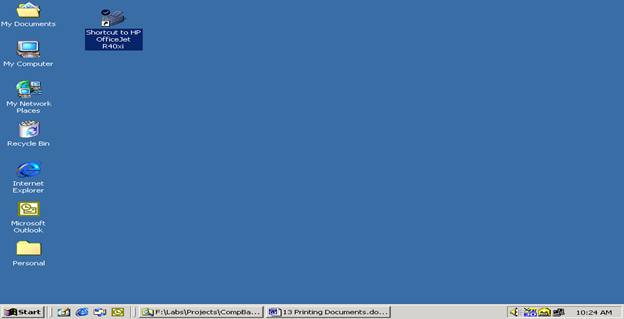
Create a printer shortcut on the desktop
Here's how the drag and drop method works once you have created the shortcut.
Click and drag also works with one 'gotchya'. If you drop the file you will move it. If your hand slips off of the mouse or if dragging over other folders you may move it to the wrong place Printing Multiple FilesSuppose you have a number of documents you want to print, but you have to leave the office area. In each program, you would have to load each document and press 'Print' on the file menu, which could take some time. You could also right click each file and select print, but this also opens up the file momentarily to print it, which can take considerable time for some programs. Using the drag and drop technique, you can select a group of documents to print and drag them all onto the printer object. Note: to select multiple files, hold the control key while clicking on each file you want, or the Shift key to select contiguous (next to each other) files at once. When you drop them you will get a warning dialog box informing you that you are trying to print multiple files at once. Since this is what you want, the warning is actually also serving as a confirmation that all is well and the PC is behaving the way you want it to. Clicking 'Yes' will send them all to the printer. They will start printing in the order you selected them. Send To - Send Files the Fast WayAnother trick is to use 'Send To'. This is simply a quick alternative to the drag and drop techniques described earlier. If you ever have had problems dragging files or arranging windows for drag and drop, a technique like 'Send To' can save you a lot of time. 'Send To' saves you the trouble of dragging files onto folders that are not open or opening another window just to copy or print a file. Every document has the option of where to send the file to. 'Send To' is found on the Right Click context menu. Right Click on the file and choose 'Send To' or on File > 'Send To'. 
'Send To' can include:
To add or remove items in the Send To Folder follow these steps:
Triple clicking in the address bar turns the address blue or gray, which means 'type on me'. The Send to folder is hidden by default. If the folder is not visible, on the Tools menu, click Folder Options, and then on the View tab, click 'Show hidden files and folders'. NOTE: If you want to add a location to the Send To menus of other users on the computer, you do not have to repeat these steps. You can copy the shortcut into the other users' Send To folders. The location can be selected from the drop down list to include whatever you have installed on the computer. You can (and should) add the option for your printer if it is not already there. Rename the printer by removing 'shortcut to' from the name. There are several way of changing things to make it easier to work: Removing items from 'Send To' is done the same way. Simply open the folder and delete the shortcut |
NOTE: These are posted for student and staff educational & class use.