
Weblessons.us
| <<= Back | <<= Computer Classes | Next =>> |
In this lesson you will learn:IntroductionThis section describes techniques for working with files. We'll look at ways to create files and we'll look at settings you can make to protect your files and ensure that they get backed up the next time you do a system backup. Creating New Folders and Files QuicklyThere’s a quick way to create a file without opening an application. The technique is to right click within an open folder or desktop, and select a file type from the available list to create an empty document. It can then be opened to add text, graphics or what ever else is needed. When you right click on the desktop, your menu looks something like this: 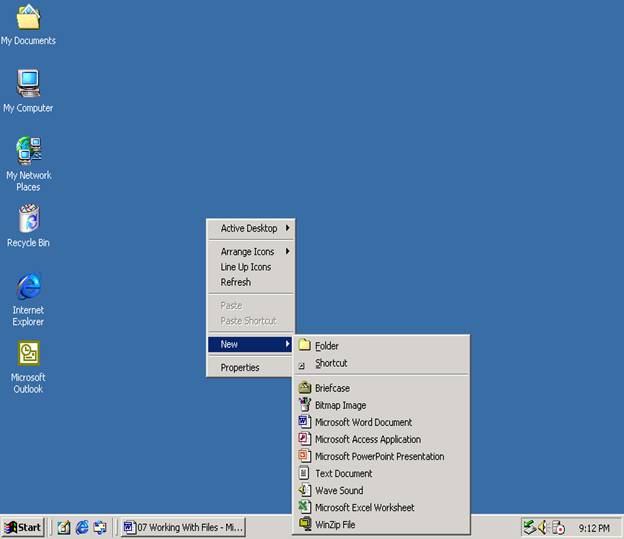
With Office Suites, the list can be quite long From the 'New' menu you can left click to select the type of file you want to create. This technique is used when first assembling the documents you need for a particular project. This is especially helpful because many different document types can quickly be created within the same project folder. Try this:
That's how easy it is to create documents from the desktop! Of course, you could instead open the program NotePad, WordPad or Word first and create the file there, but that method is slower. You have to get to the program or shortcut, open it, and then create the new file by selecting File > Save As and save it in the correct folder. You learned a much faster way. Creating Folders on Other Drives and MediaCreating folders on a USB Drive or a floppy disk is done the same way.
To place another folder inside of the folder you just made, open the folder. Inside the folder Right Click and from the menu that pops up create another folder and give it a new name. Double click the new folder. When the window opens, choose File > New where you will see a menu with options to create new folders and shortcuts at the top of the list. At the bottom you will see a list of different files you can create, such as sound, graphics, text (NotePad and WordPad) documents etc.. Again, with Office Suites, the list can be quite long. In this example, we'll create another Notepad file.
To close the files and folders, click the red X button in the upper right corner to close the window. Since you've already opened the file from the folder it needs to be in and then named the file, you don't have to specify a file name or location when closing it. NOTE: This is a good method to use when creating a series of new and empty files when starting a project. This method can be used to create one file that serves as a template, type text into it that will be common to other files, and then make multiple copies of it by saving it with a different name. This will be visited again in the lesson on Templates. |
NOTE: These are posted for student and staff educational & class use.