
Weblessons.us
| <<= Back | <<= Computer Classes | Next =>> |
In this lesson you will learn:Working with Scroll BarsScroll bars automatically appear when the window is too small to show the entire contents of the file or folder. These are the bars at the side and/or bottom of the window that have arrows at either end. You click on the arrow to scroll line by line in the direction of the arrow, or click inside the bar area to scroll window by window. In a window for a drive or folder, you can use the Scroll bars to scan through the list of files and folders. If there is a wheel on the mouse you can click inside of the window and turn the wheel to scroll files, folders and lists, as well as web browser pages. In a window running a program such as a word processor, you can use Scroll bars to scan through the pages of the document in the window. Scroll bars aren't always advantageous. They definitely get in the way if a window only has a few objects, and if that is the case, the window can be enlarged just enough to make the Scroll bars disappear. It's a good idea to experiment with Scroll bars before going further. We'll shrink the window to make the Scrollbars appear:
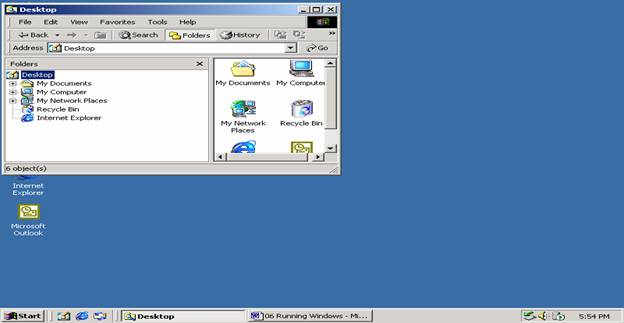
The Reduced Size to Reveal The Scrollbars The right border and the bottom border overlap objects in the window to make the Scrollbars appear. The vertical Scroll bar on the right scrolls contents up and down. The horizontal Scroll bar scrolls objects left or right. Each Scroll bar consists of scroll buttons, a slider button and the slider bar area. These are the techniques to scroll: These take practice at first.
The slider button and the Scroll bar have a unique relationship. Together they give you an idea of the length of the document by how much of the slider is shown in the window. If the length of the slider bar is long, it indicates that most of the document is showing. If the slider bar is short,then the window hides most of the document. To demonstrate this, look at the size of the slider bar as you change the window. If you change the size of this window (where you are now reading), you'll see the slider bar is small, showing a general idea of the document size. Auto Arrange Contents to Avoid Scroll BarsBy now you must have noticed that some objects get obscured when you reduce the size of the window and that scroll bars appear only when all objects can't all be seen at once. For cases where there are only a few objects in the window, you can use the Auto Arrange feature to make the objects automatically re-arrange to fit into the window. This way, scroll bars do not need to appear. This feature is used mainly in 'Computer' (or 'My Computer'), on the Desktop or Windows Explorer to rearrange Icons. You will use this technique again in another lesson. You set this feature on by choosing 'Auto Arrange' from the View >> Arrange Icons menu, or in the case of the Desktop, right click and choose 'Arrange Icons'. Once Auto Arrange is turned on the contents of the window are automatically rearranged every time the window is resized. You need to turn on this feature for any window you want to automatically arrange, but once the feature is turned on, the settings will be applied to the window the next time the window is opened. This prevents objects or Icons from being dragged out of position if screen resolutions are changed. Removing Scroll BarsAs mentioned, scroll bars aren't always necessary and sometimes take up valuable space. If a window only has a few objects you can find its optimal size so the contents exactly fill the window without scroll bars appearing.
Some windows have too many objects to completely remove one set of scroll bars. However, with Auto Arrange set on, you can usually manage to get rid of either one of the sets, depending if you use a wide or narrow window format. NOTE: It is worth your time to optimize the size of the windows on your desktop. Space is valuable and time changing each window is costly over time versus a few minutes now. |
NOTE: These are posted for student and staff educational & class use.