
Weblessons.us
| <<= Back | <<= Computer Classes | Next =>> |
In this lesson you will learn:Open a blank document in Microsoft Word: Start > All Programs > Microsoft Office > Microsoft Word Menus in WindowsEach Office Suite version has different layout for menus and toolbars. Some things have gone away entirely so sometimes older programs actually give you more power of:
Every open window on the desktop has similar menu options for organizing objects within it. These are called Menus and are located on the Menu Bar. 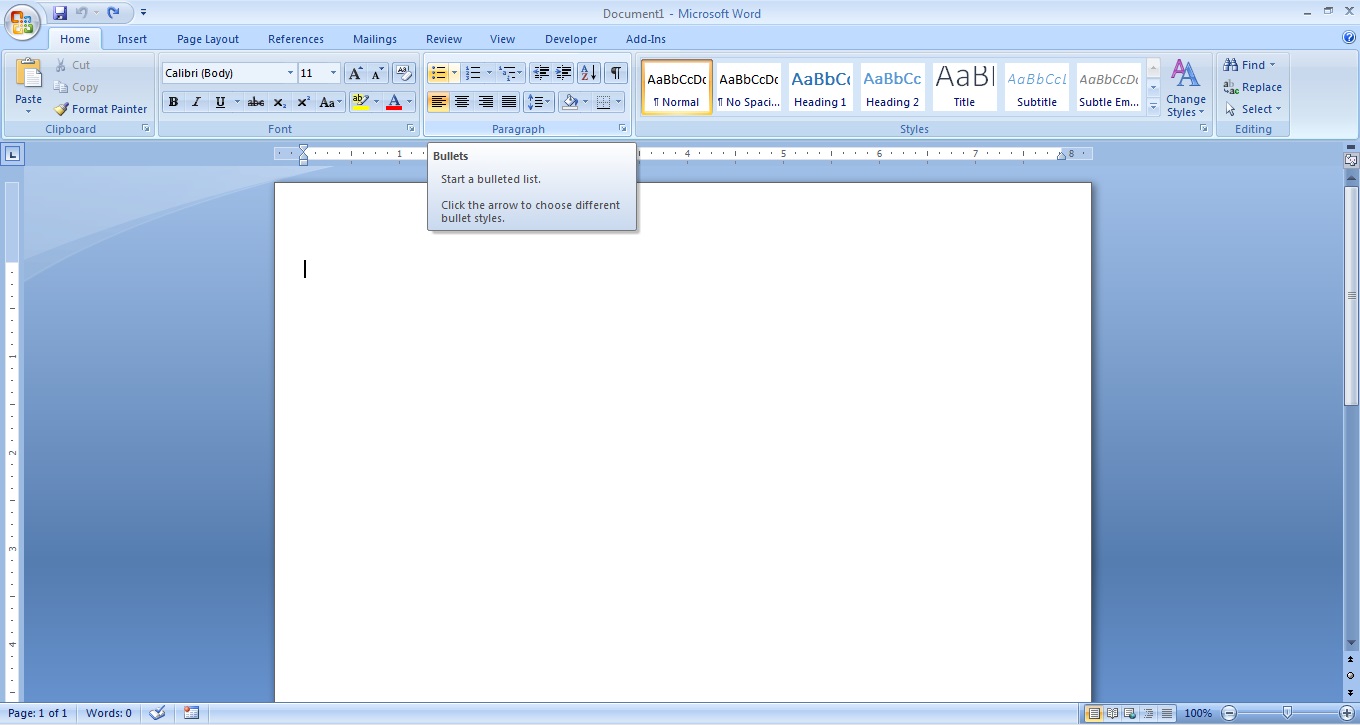
The Menu Items are shown by the words HOME, PAGE LAYOUT, MAILINGS, REVIEW, VIEW, DEVELOPER and ADD INs.
TIP: Right clicking the mouse will also bring up a menu that pertains to the object that was clicked on. Each mouse-menu will be different, depending on the object. As a rule of thumb, if you get stuck, right click the object you are stuck on and see if the menu shows what you want to do. If not, you have to use the top menu bar. Toolbar ButtonsThe buttons on the Toolbar map to (point to) the menu items, so they are a convenient way to pop open menu items without opening menus. As a quicker way of finding a feature simply hold your mouse pointer over them to see the context label of what they are. In the picture above, the "Bullets" box shows that the Icons that appear are the same functions as the toolbar buttons: they correspond to the menu item. You will practice this concept more in the 'Beginning Word Processing' lesson. About Keyboard ShortcutsPressing keys is not as elegant as using the mouse, but you can access almost every Windows feature using the keyboard. This can really save time, because using the keyboard is a lot faster than stopping work to reach over to grab and move the mouse. Even if you prefer the mouse, eventually you may be forced to use the keyboard, especially in a mouse challenged computer where the mouse stops working suddenly or was accidentally disabled while experimenting with different settings. Keyboard techniques can get you back into Windows where settings can be restored. After re-booting, everything may be ok, but it is the keyboard alternatives that saved the day. Ask any technician! In this section you will learn the basic keyboard shortcut techniques for Windows by practicing the keyboard shortcuts. For more information, look up 'Keyboard' in the Help system and print the topic. By adding keyboarding shortcuts to your skills, you are becoming an expert in using the PC. Using Keyboard ShortcutsIn the picture above, notice that each menu item has an underlined letter. The underlined letter on the menu means that by holding the ALT key while pressing the underlined letter, the menu item will open and then you can release the ALT key and press the next underlined letter and that item will open. Remember:
Practice this a few times. Press ALT + F; the file menu opens, Press ALT + H; the help menu opens etc. Open other menus the same way. |
NOTE: These are posted for student and staff educational & class use.